STEP 1 : BECOME A SELLER
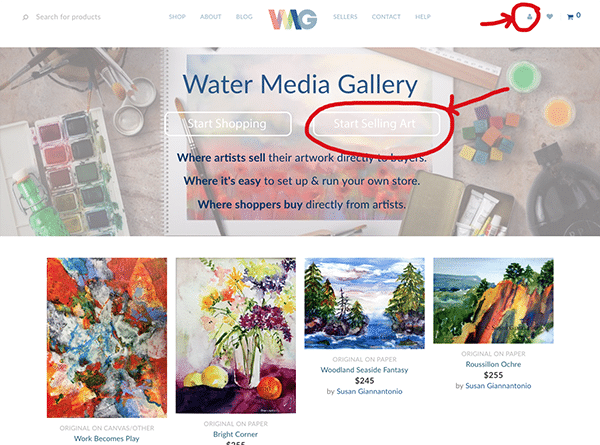
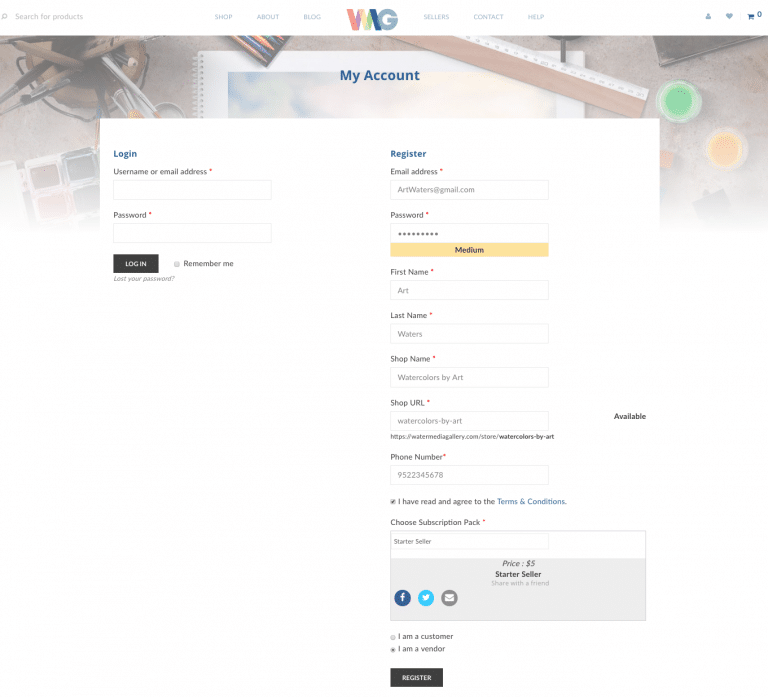
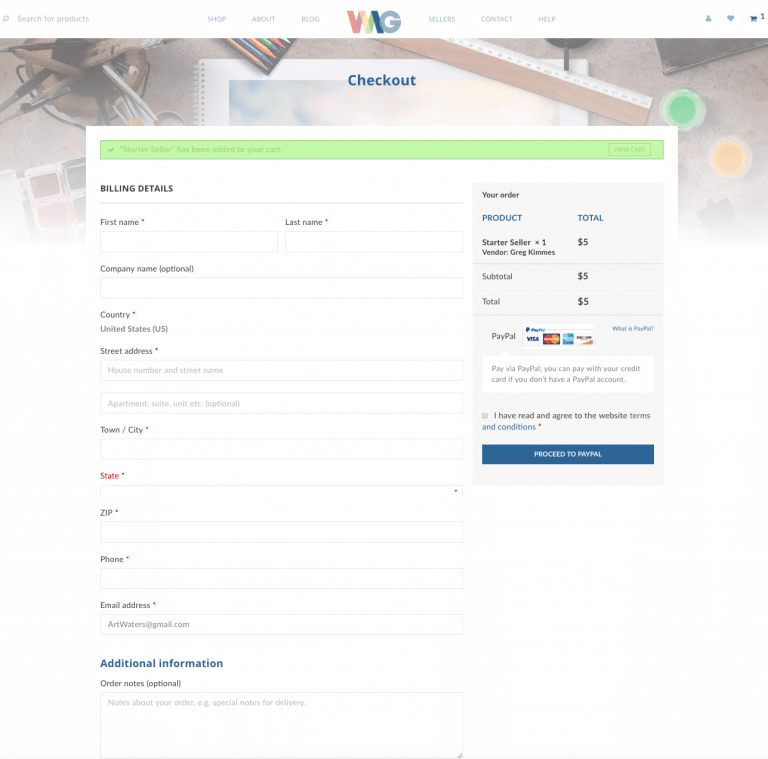
To start selling your artwork and run your online store/gallery – you’ll need to become a seller and set up an account. Choose the “Basic Seller” account and list up to 12 pieces. Pick the seller subscription level that’s right for you and register as a vendor in the drop down menu, seen below.
Note: You’ll need a PayPal account to receive payments (they will take 2.87 percent per transaction). If you don’t have a PayPal account you can set one up by clicking here.
The first step only takes a couple minutes.
STEP 2. Setting Up Store
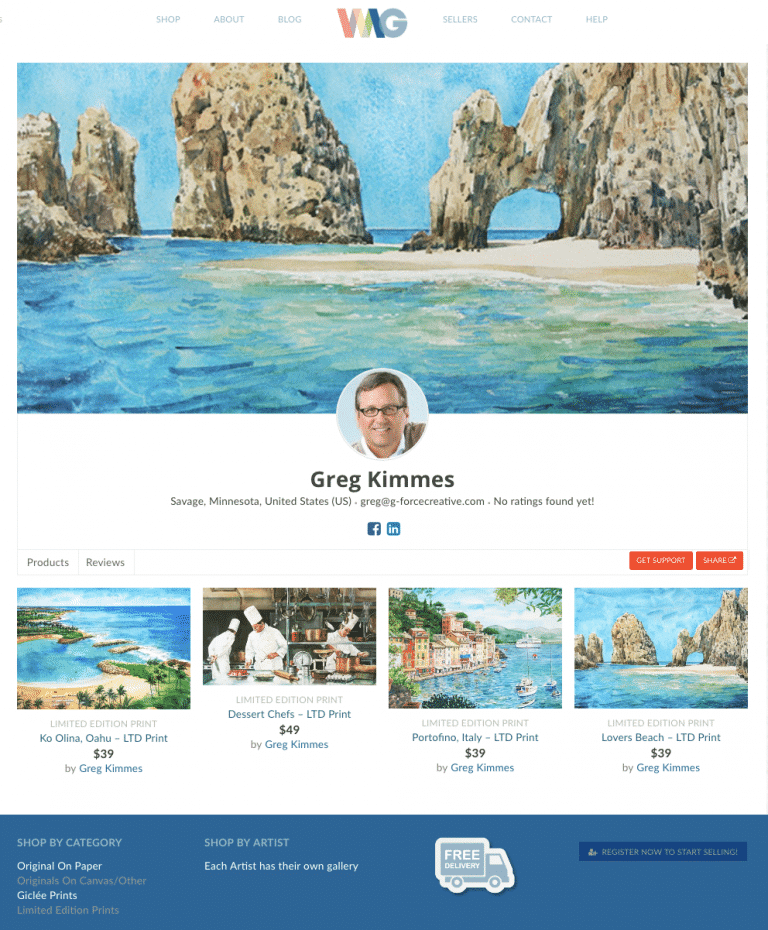
1. Go to your Dashboard > Settings and enter Store information; name of store (likely your name), location, your branding (banner art & icon), show your email (if you would like to accept inquiries via email), and check show support button (if you want to offer support to your store).
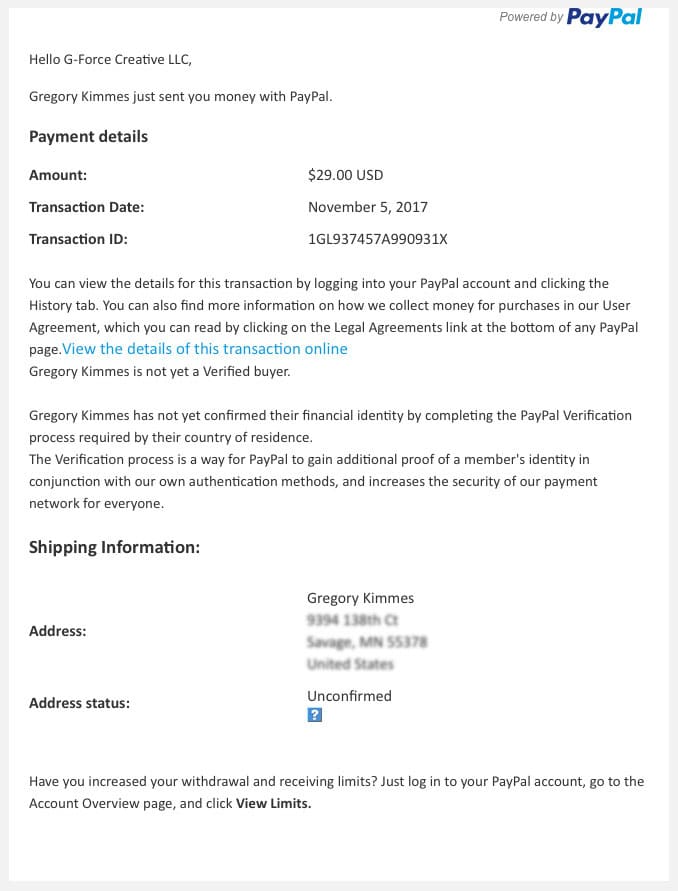
2. Then click on Payment tab – enter PayPal E-mail to connect to your PayPal account. * This is really important if you want to get paid – we transfer entire payment immediately to your PayPal account and you’ll get notifications from us and PayPal.
3. Next – add any of your Social Profiles – if you would like to share on store page.
4. Finally – you are able to add custom Store SEOfor search engines to find your store more easily.
You’ve set up your store, next add your artwork.
step 3. Add artwork to your store
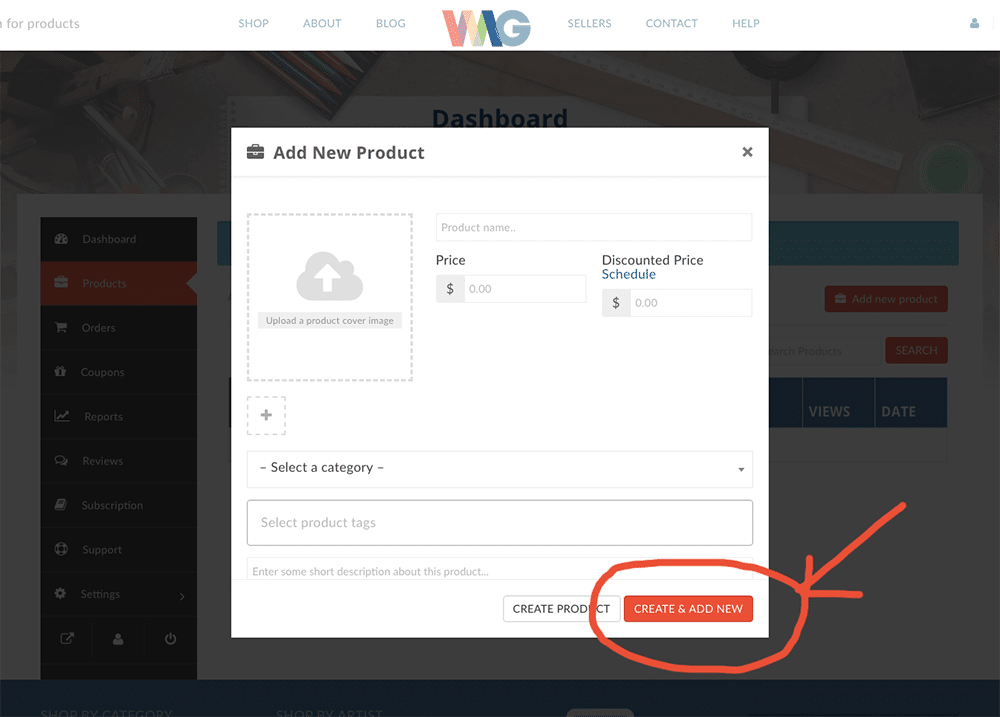
Enter the product name, price (including shipping & sales tax), select category & tags, add a short description and upload an image of artwork. You need good quality image of your artwork for uploading, (we recommend .jpg – maximum of 1,000 pixels wide or tall – .tif files are not usable). 1 MB resolution is fine for web viewing, larger images will be automatically optimized during uploading – it’ll just take longer for your upload. See how to capture a good image of artwork for your store.
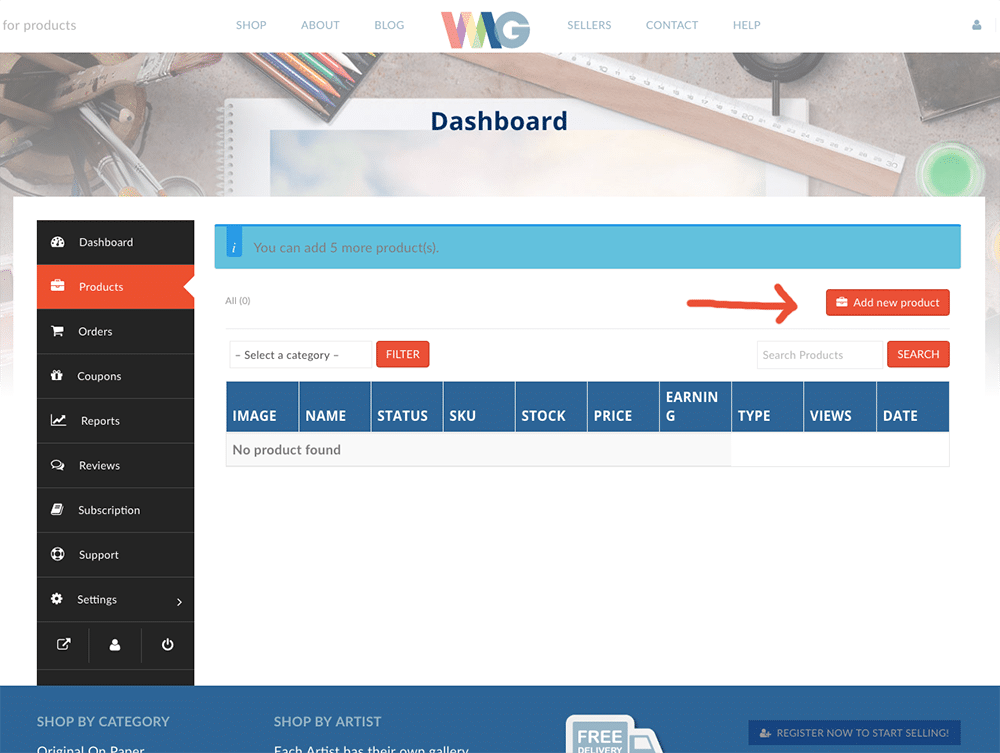
Note: Be sure to click “Create & add new” at bottom right corner or work will be lost.
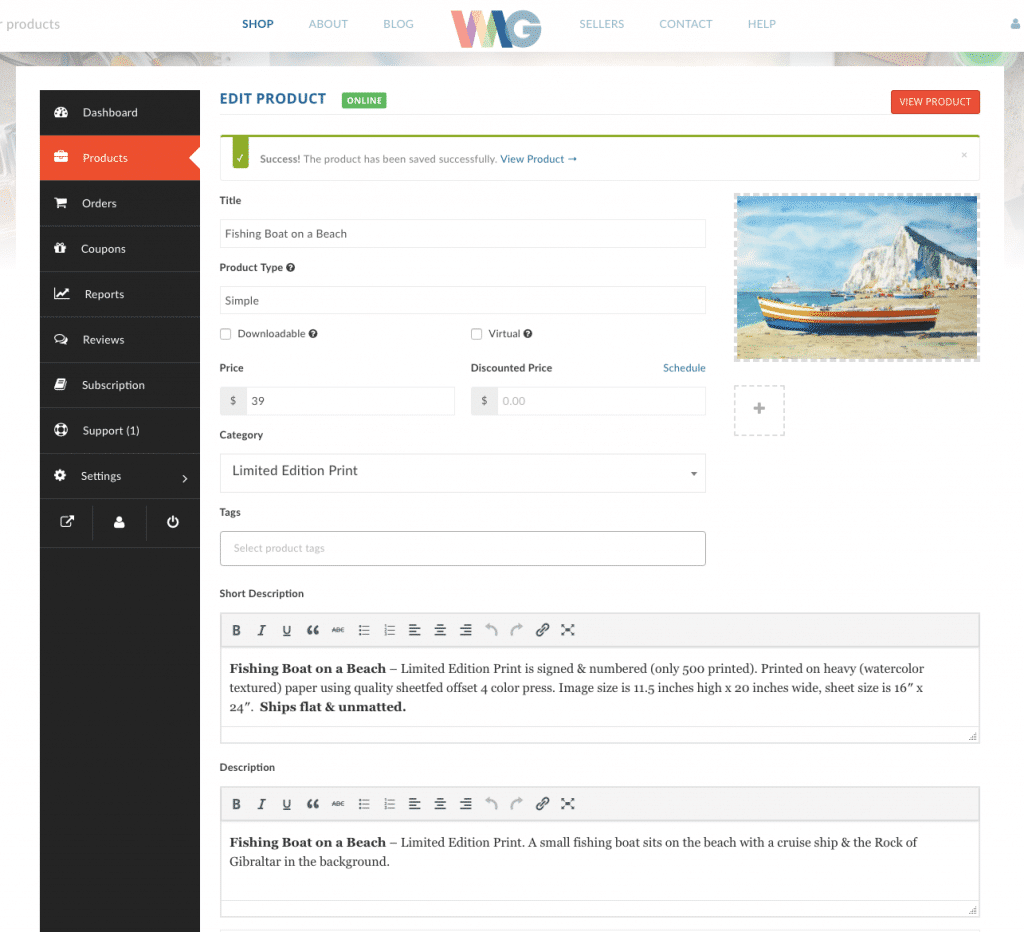
Note: Short Description will appear to the right of product image above the price. Description can be created in the full edit page of the product – where additional details can be provided, and that will be located under image as active button on live product page.
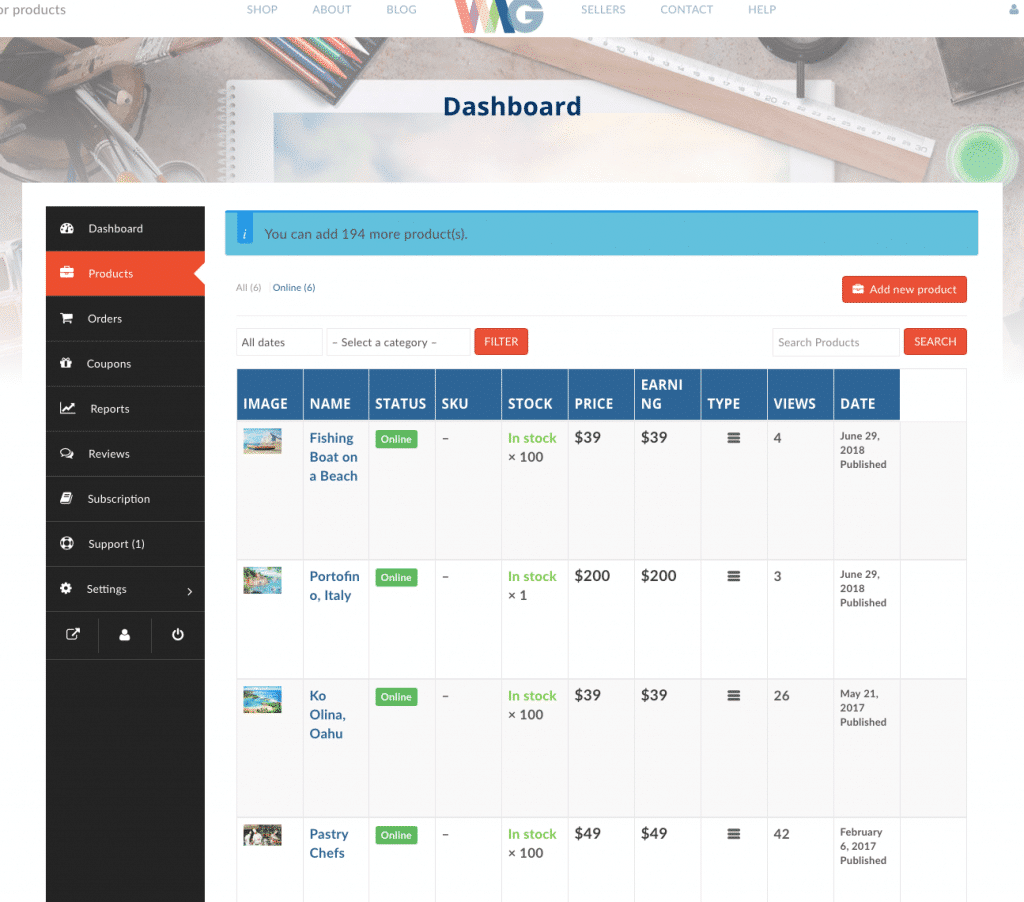
Note: your products are accessible from list – you can hover over “NAME” to edit, delete, view, or duplicate (duplicate is an easy way to create another similar piece that shares properties – you can simply change title and image and you’re good)
OK – you have a store and your work is for sale, now all that is left is manage your store & process orders.
step Step 4: Manage Your Store
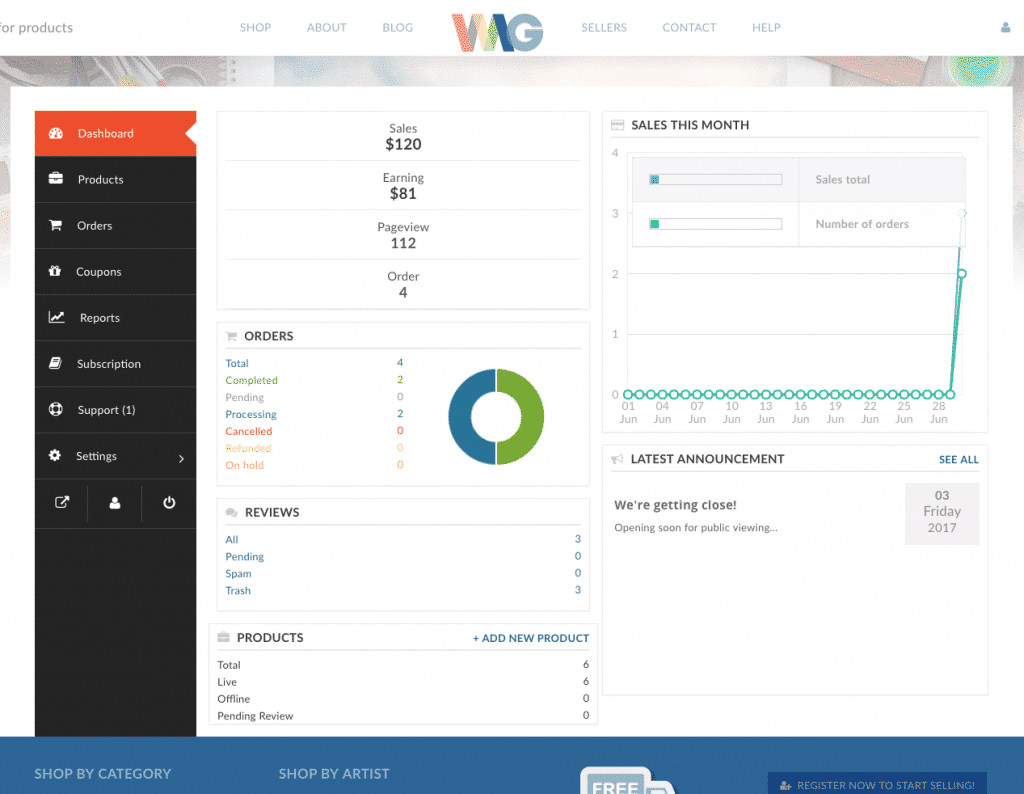
Add & manage products, view & manage orders, edit your store settings, view your store, and more – all through your personal dashboard.
Note: Your main dashboard screen gives you a quick snapshot of everything that has happened at your store – views, orders, reviews, sales reports, announcements, and lots more.
Note: You can continually manage and edit any artwork in your store. Mark it sold if you find a buyer (you’ll get a red “Sold” flag when purchased). You can delete or make offline if you want to remove showing.
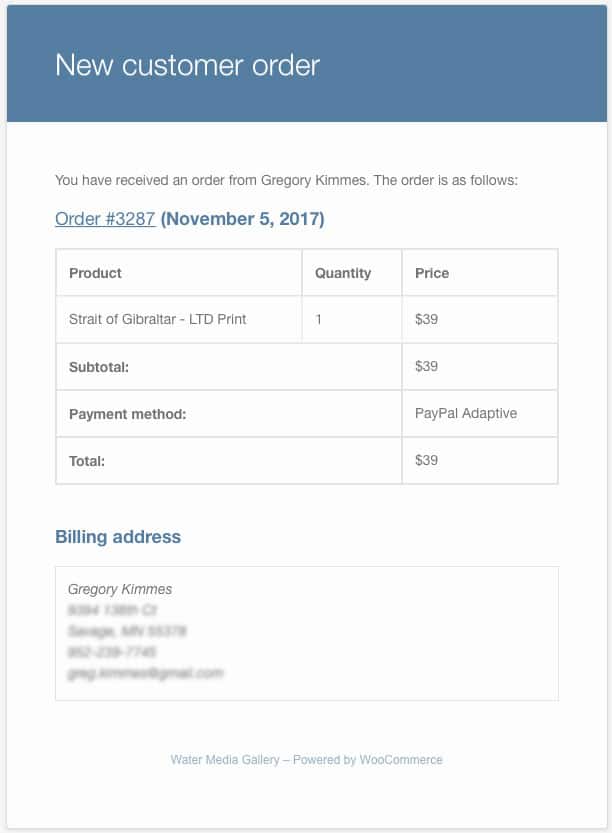
Note: Orders provide details you need about transaction; customer info, date, status, and more.
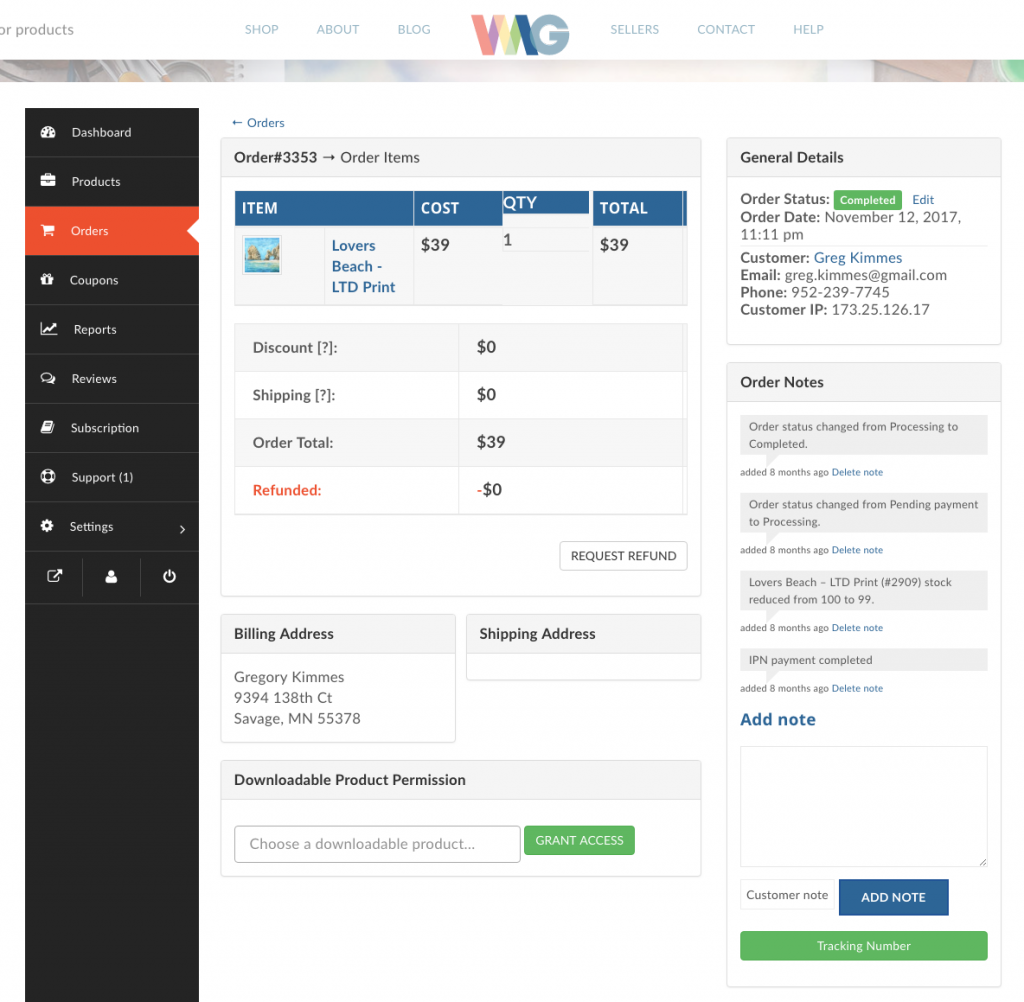
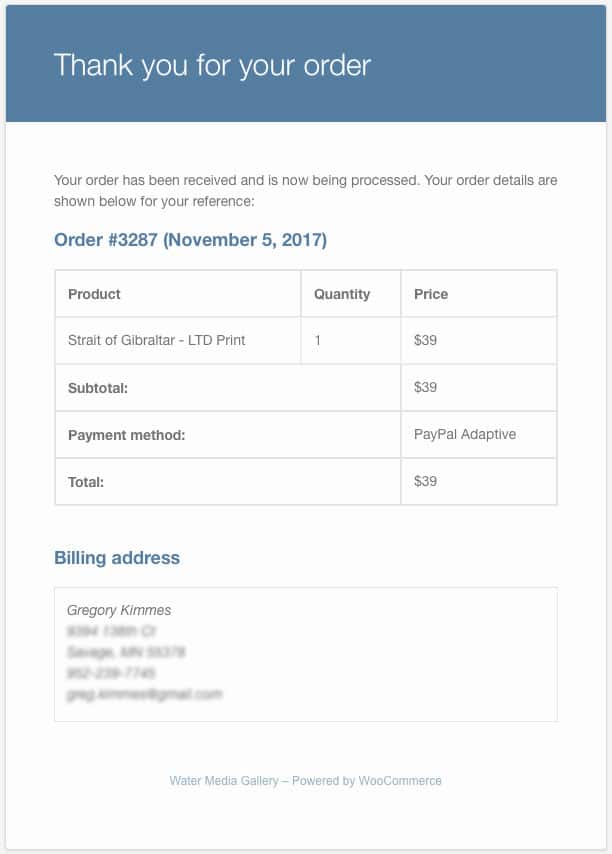
Buyers will get an thank you email notification along with PayPal receipt.
Pretty simple. Try it and see for yourself – it’s just $5 for the first three months.
