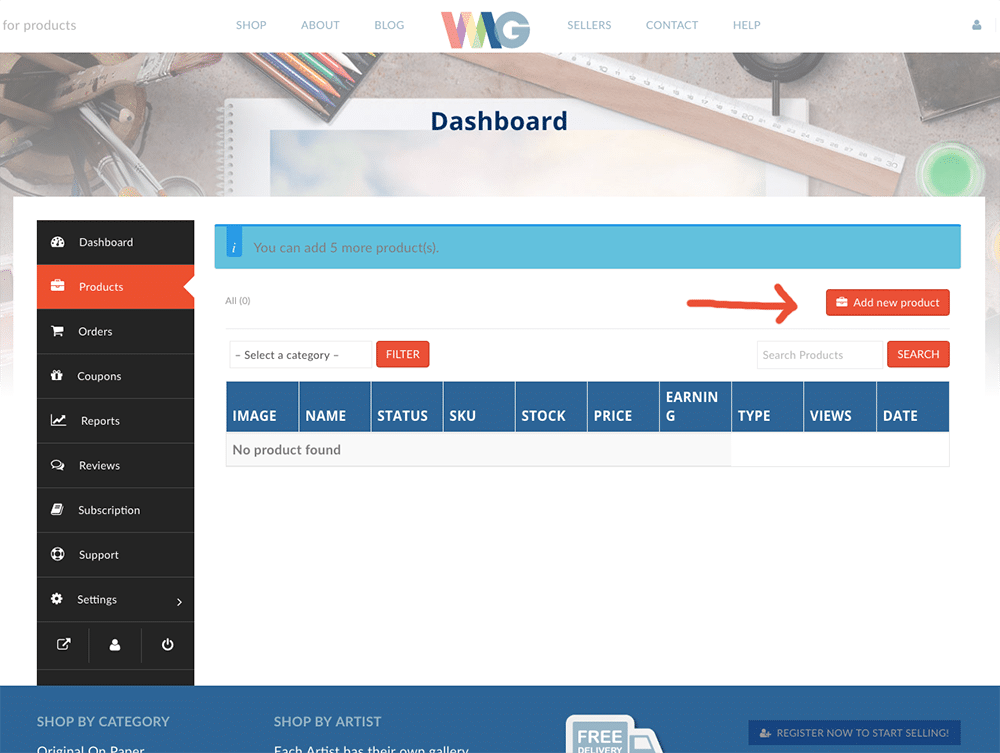
Now the fun part, time to add your artwork – and start selling.
Step 3: Add Your “Product” or Artwork
Enter the product name, price (including shipping & sales tax), select category & tags, add a short description and upload an image of artwork. You need good quality image of your artwork for uploading, (we recommend .jpg – maximum of 1,000 pixels wide or tall – .tif files are not usable). 1 MB resolution is fine for web viewing, larger images will be automatically optimized during uploading – it’ll just take longer for your upload. See how to capture a good image of artwork for your store.
Note: Short Description will appear to the right of product image above the price. Description can be created in the full edit page of the product – where additional details can be provided, and that will be located under image as active button on live product page.
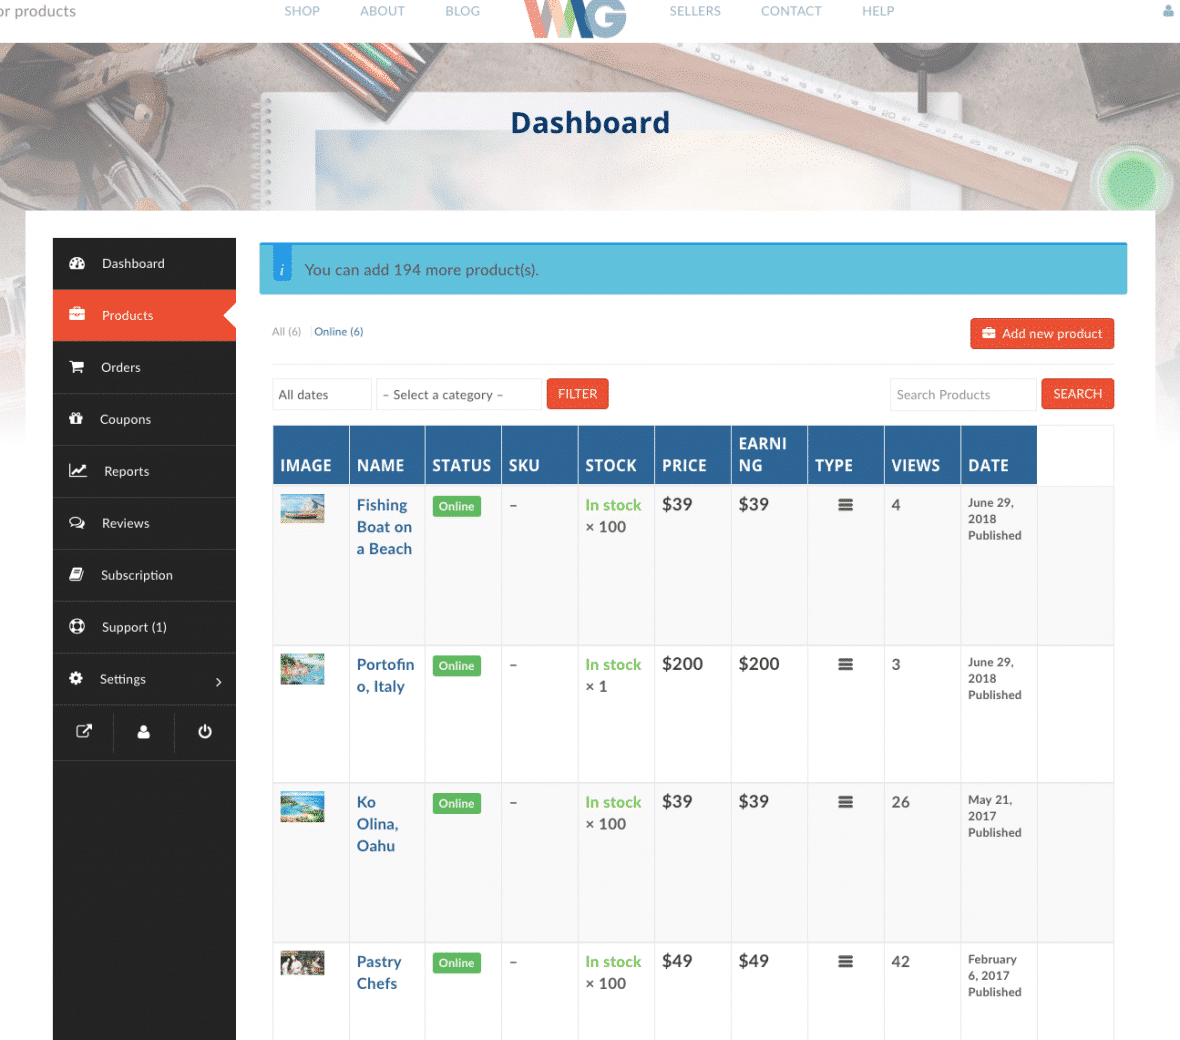
Note: your products are accessible from list – you can hover over “NAME” to edit, delete, view, or duplicate (duplicate is an easy way to create another similar piece that shares properties – you can simply change title and image and you’re good)
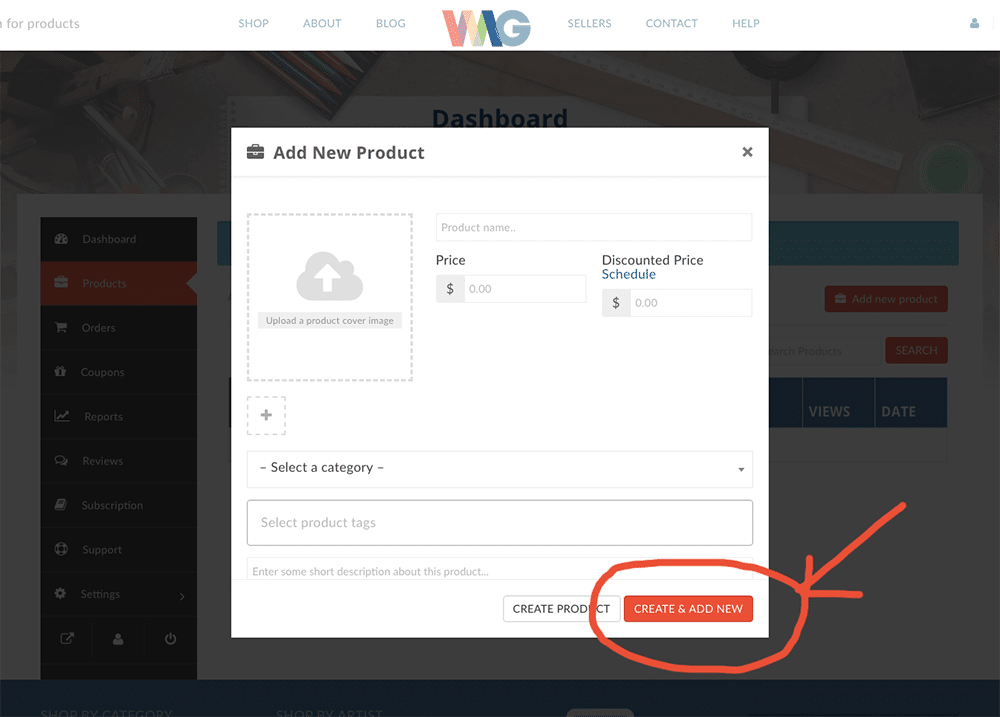
Note: Be sure to click “Create & add new” at bottom right corner or work will be lost.
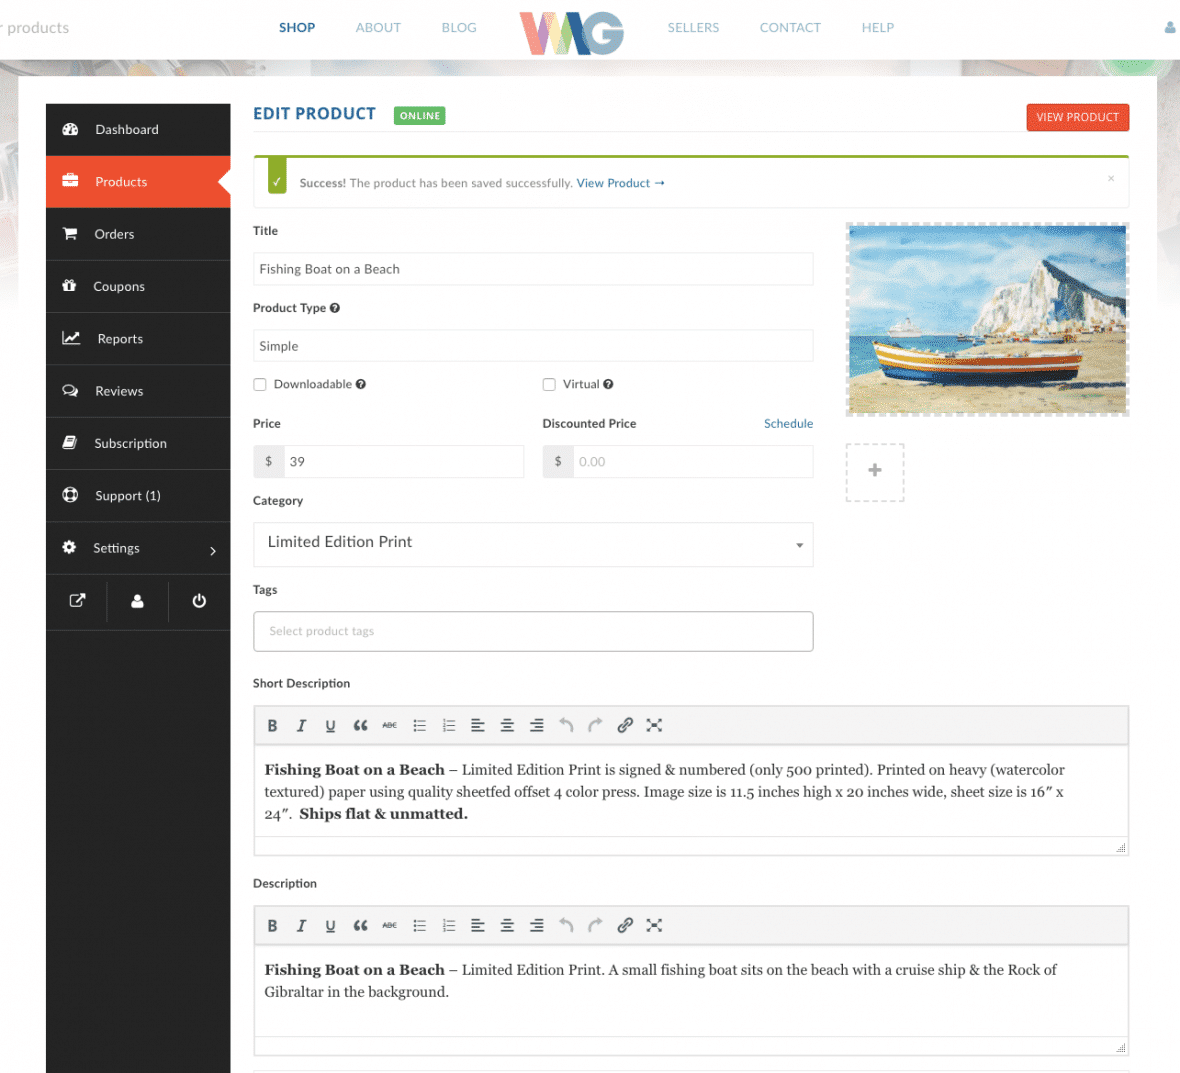
Note: Once added you may continue go back and edit products.